I have spent the past two
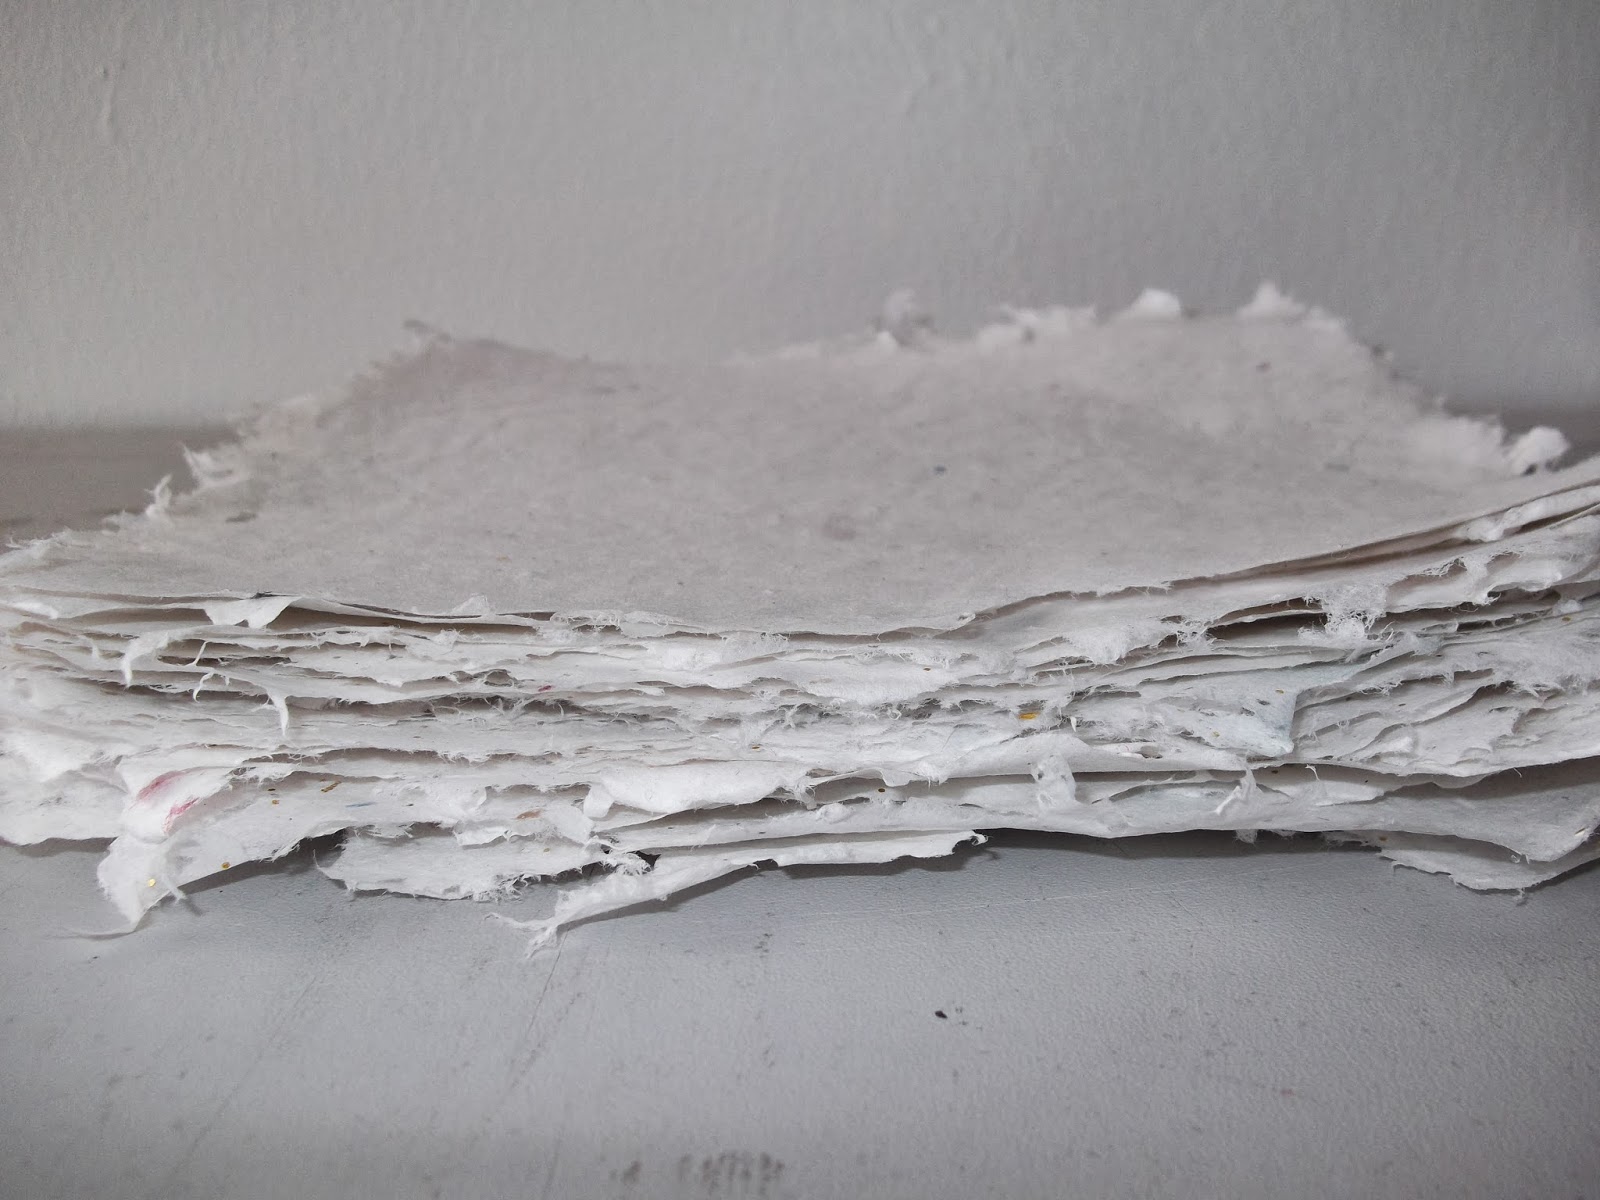
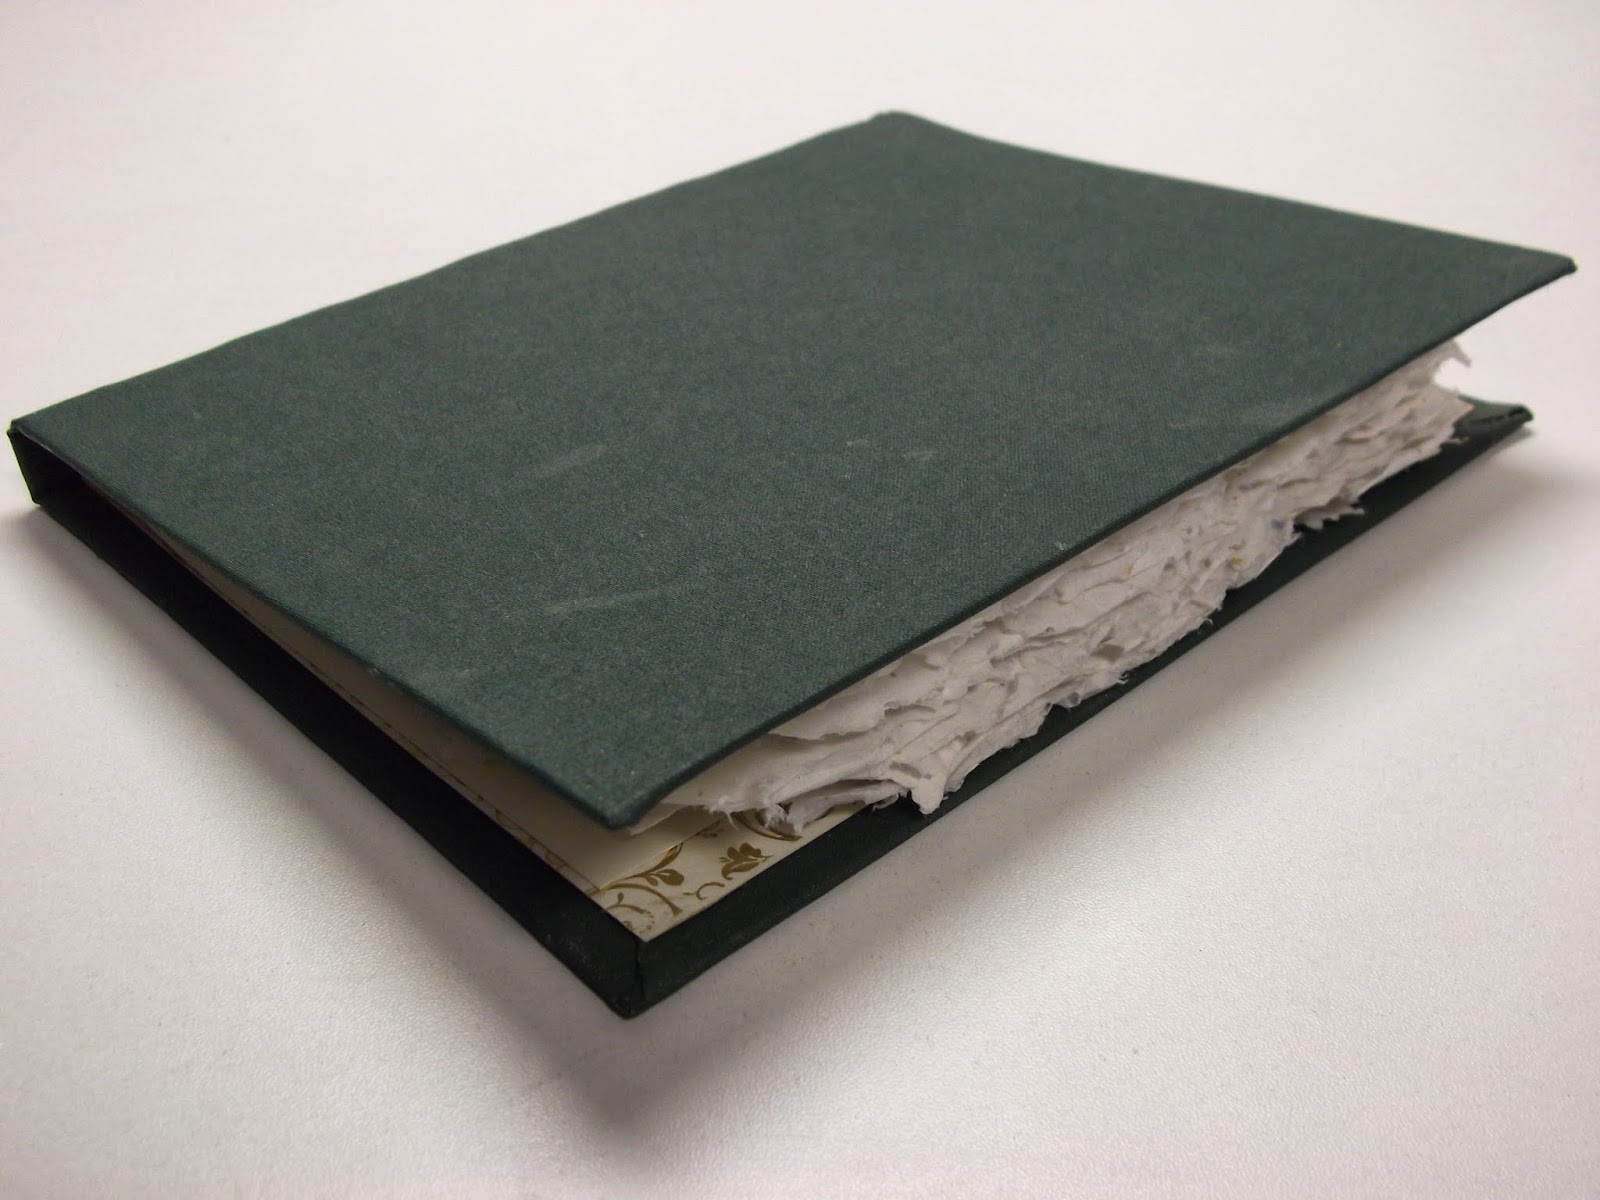
days binding paper that I made on the 5th of March into a
sketchbook. Because I have done Japanese bookbinding before I decided to try a
different method to make this sketchbook, called cut binding. Cut binding
involves the hinge of the book being both sewn and glued, making this type of
bind very strong. For this sketchbook I kept the edges of the paper as they
dried but in future I might try cutting them with a paper guillotine for a different, clean-cut, result. When I did the papermaking I added gold
coloured glitter to the pulp so I chose the gold card on the inside of the cover to match the glittery paper.
Friday, 14 March 2014
Wednesday, 12 March 2014
Priley Riley, Animation, 12th March 2014
I did animation at
university today, which is not something that I had tried before. One of the
tasks set was to use Maya software to animate two objects so that they collide
with each other. I wanted the objects to have a different state of matter to
make the collision more interesting, so I chose to have a liquid collide with and
engulf a solid object. I designed a table for my solid object and originally
had a layer of lava collide with this. Although I liked the collision, I wanted
the animation to look more amusing and unusual so I kept all of the lava’s properties
except for the colour, and changed the colours so that the lava looks like
cheese!
Saturday, 8 March 2014
Priley Riley, Considering how to create an ice sculpture from a mould
Over the next few weeks I
will be posting less on my Blog as I will be researching, experimenting and eventually
producing a completed ice sculpture. My tutor said that in his 34 years
working for the university no one has ever tried making an ice sculpture from a
mould, but in theory it could work. I want the ice sculpture to be of the
figure as I have been working on portraiture this semester, and to get a mould
of the figure I will cast part of a volunteer’s body. The process will require
a considerable amount of research as the only way that I could make a mould
would be to use fibreglass- any other material would crack the mould as the ice
froze and expanded inside it. I also want my finished ice sculpture to be clear
and to contain an object. For this reason I am interested in casting the chest
area, making a fibreglass mould from this, and using the mould to cast an ice
sculpture with a heart frozen inside- either a real animal heart or one that I could make.
Before I do this however, I will need to experiment with freezing water to see
how clear it is; if air bubbles form the heart would not be seen. I will also
need to consider other questions such as how I could freeze the heart exactly where
I wanted it.
Friday, 7 March 2014
Priley Riley, Papermaking, 5th March 2014
This is the paper that I made on the 5th of
March. There are 34 sheets of paper in total. I intend on using 30 of the
sheets, which are roughly 8 x 8 inches in size, to bind into a book.
Tuesday, 4 March 2014
Priley Riley, Papermaking, 28th February 2014
On the 28th of
February 2014 I did papermaking for the first time. The paper is roughly A5
size. I used a template to make my paper heart shaped, for a more interesting
outcome, and I also added red dye to some of the pulp in order to make red
hearts as well as a white one. I had to leave the paper to dry for a few days
in between blankets so today was my first opportunity to take them out and
photograph the paper for my blog. The way the paper dried has meant that the
edges are not very clean-cut; I had considered cutting them into perfect heart
shapes but decided against it because I prefer the idea of the paper looking
more natural.
Saturday, 1 March 2014
Wednesday, 26 February 2014
Priley Riley, Collagraph prints, 7th, 24th and 26th of February 2014
To make collagraph prints I
drew onto card and added PVA glue to the parts of the drawing that I wanted to
print. I then poured carborundum over the glue and left this to dry (I did
these stages on the 7th of February 2014). Once dry, I varnished the
piece four times. I then produced prints from it on the 24th of
February and today using a hydraulic press. I prefer the other printing methods
that I have tried to collagraph printing because collagraph prints are not as detailed
and they produce prints in just two colours; this combination has made the
subject of my prints less recognisable. Because of this, I have included the photo
that I worked from below as well as one of my collagraph prints above.
Subscribe to:
Posts (Atom)